Code Executer Tool in a Single-Node Agent
Step-by-Step Guide
Step 1: Choose a blank canvas to customize for defining the user's own agent behavior.
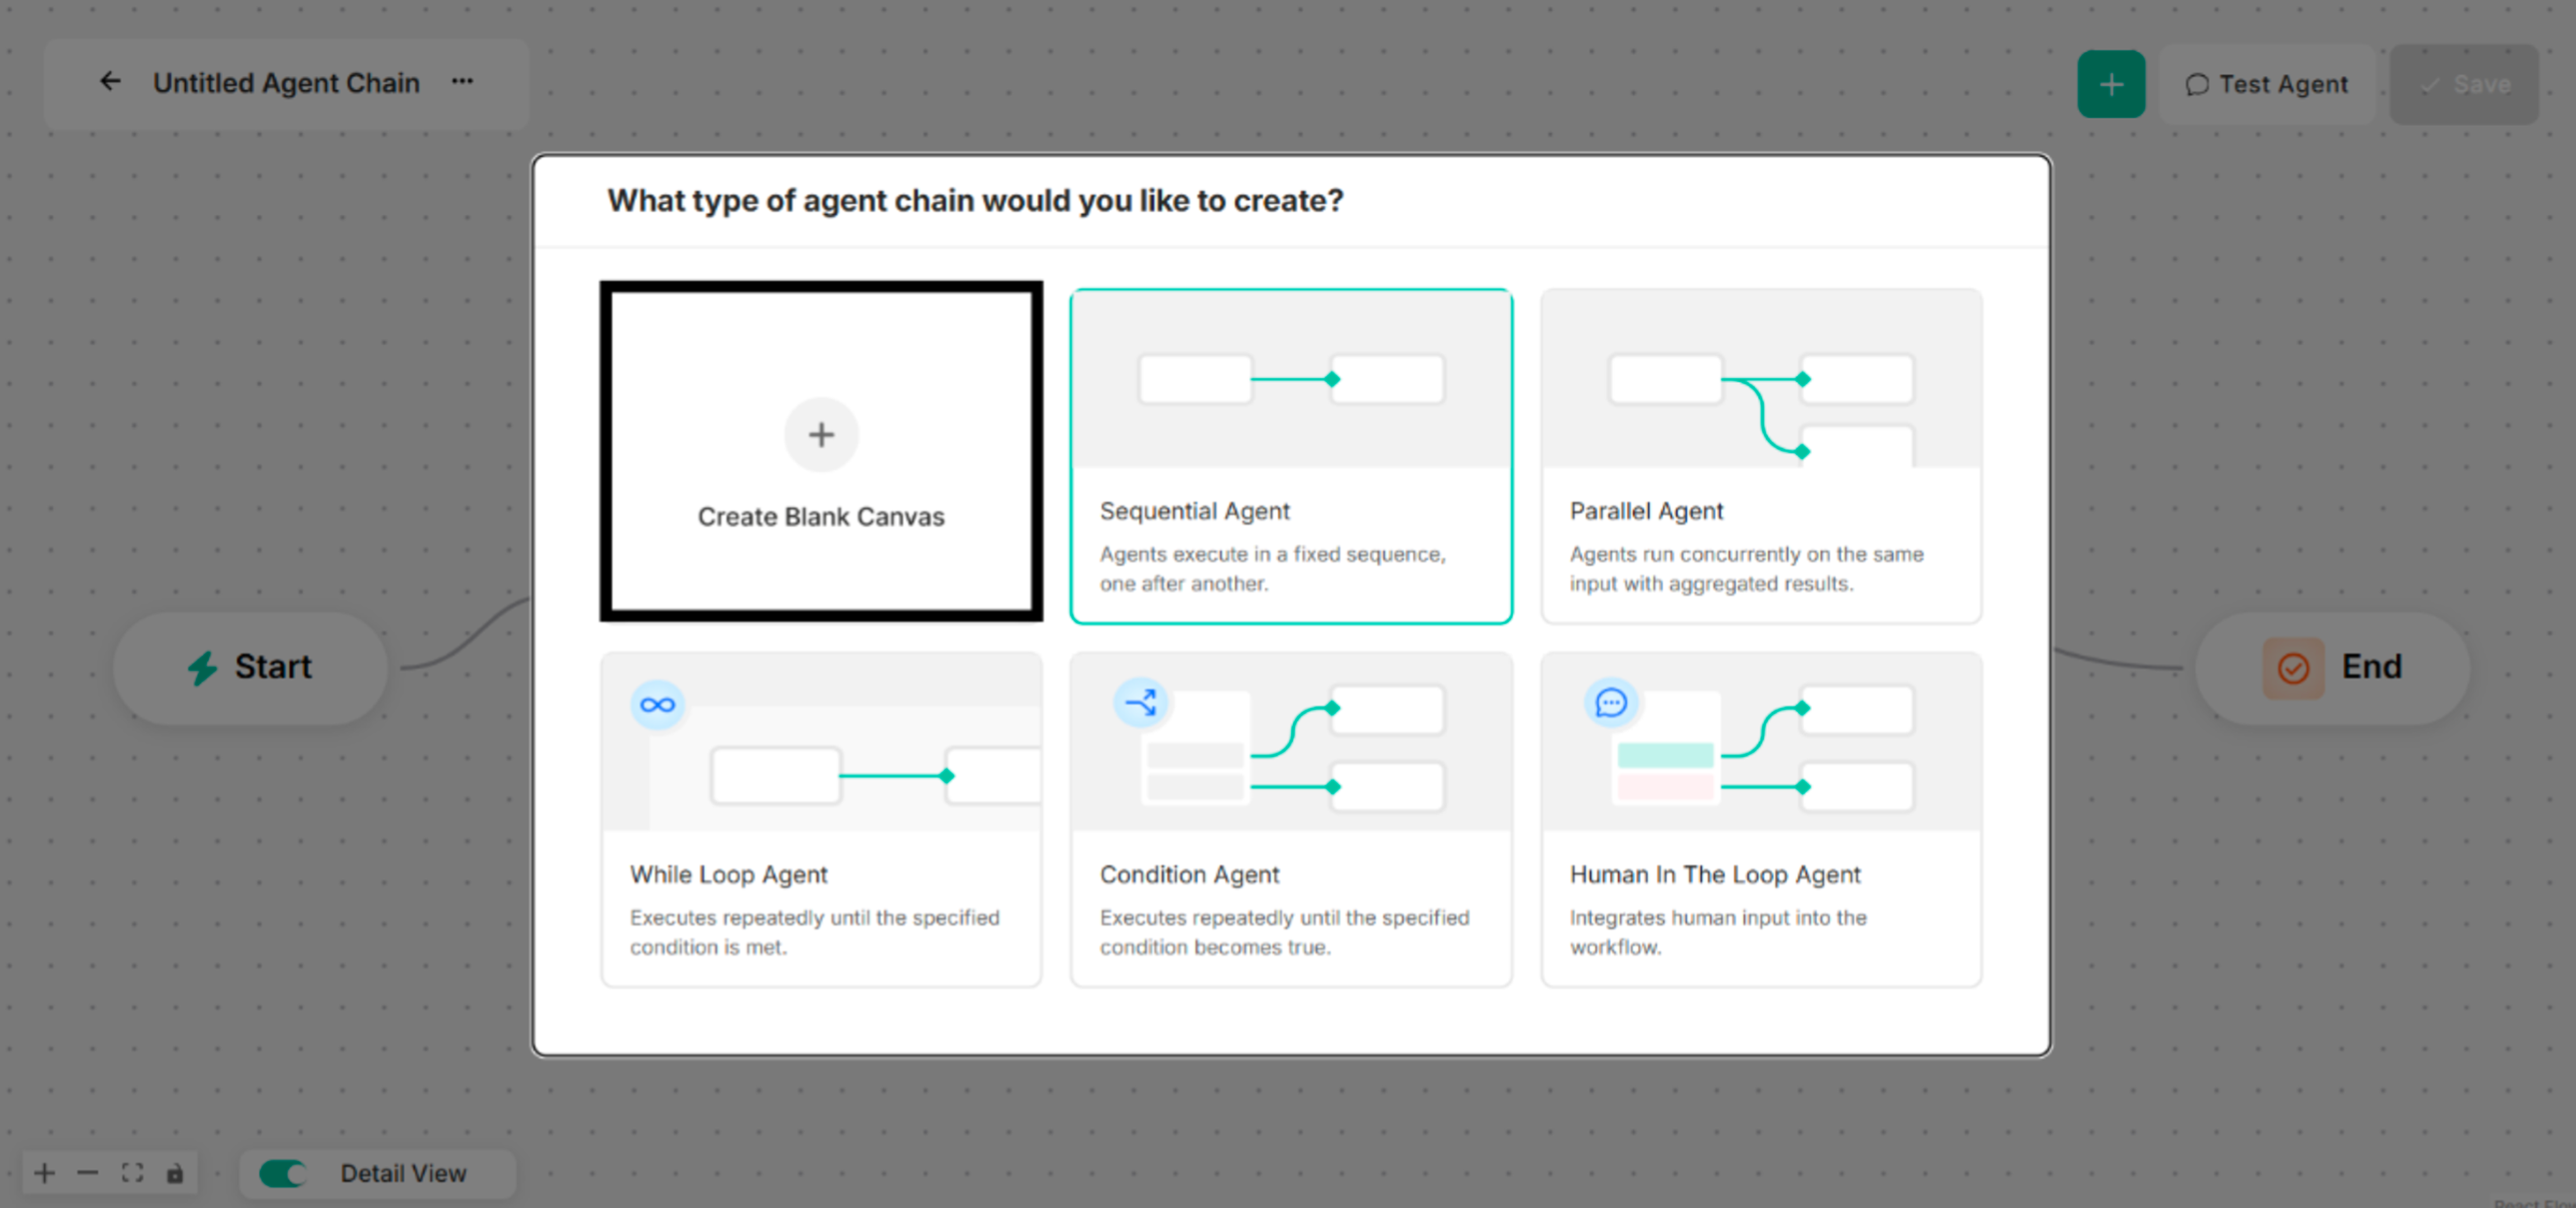 Figure: Interface showing Blank Canvas for a Single-Node Agent Creation
Step 2: Choose Code Executer Tool for the selected type of agent chain to create. The Agent Name and Model Name are renamed before a Code Executer Tool is chosen.
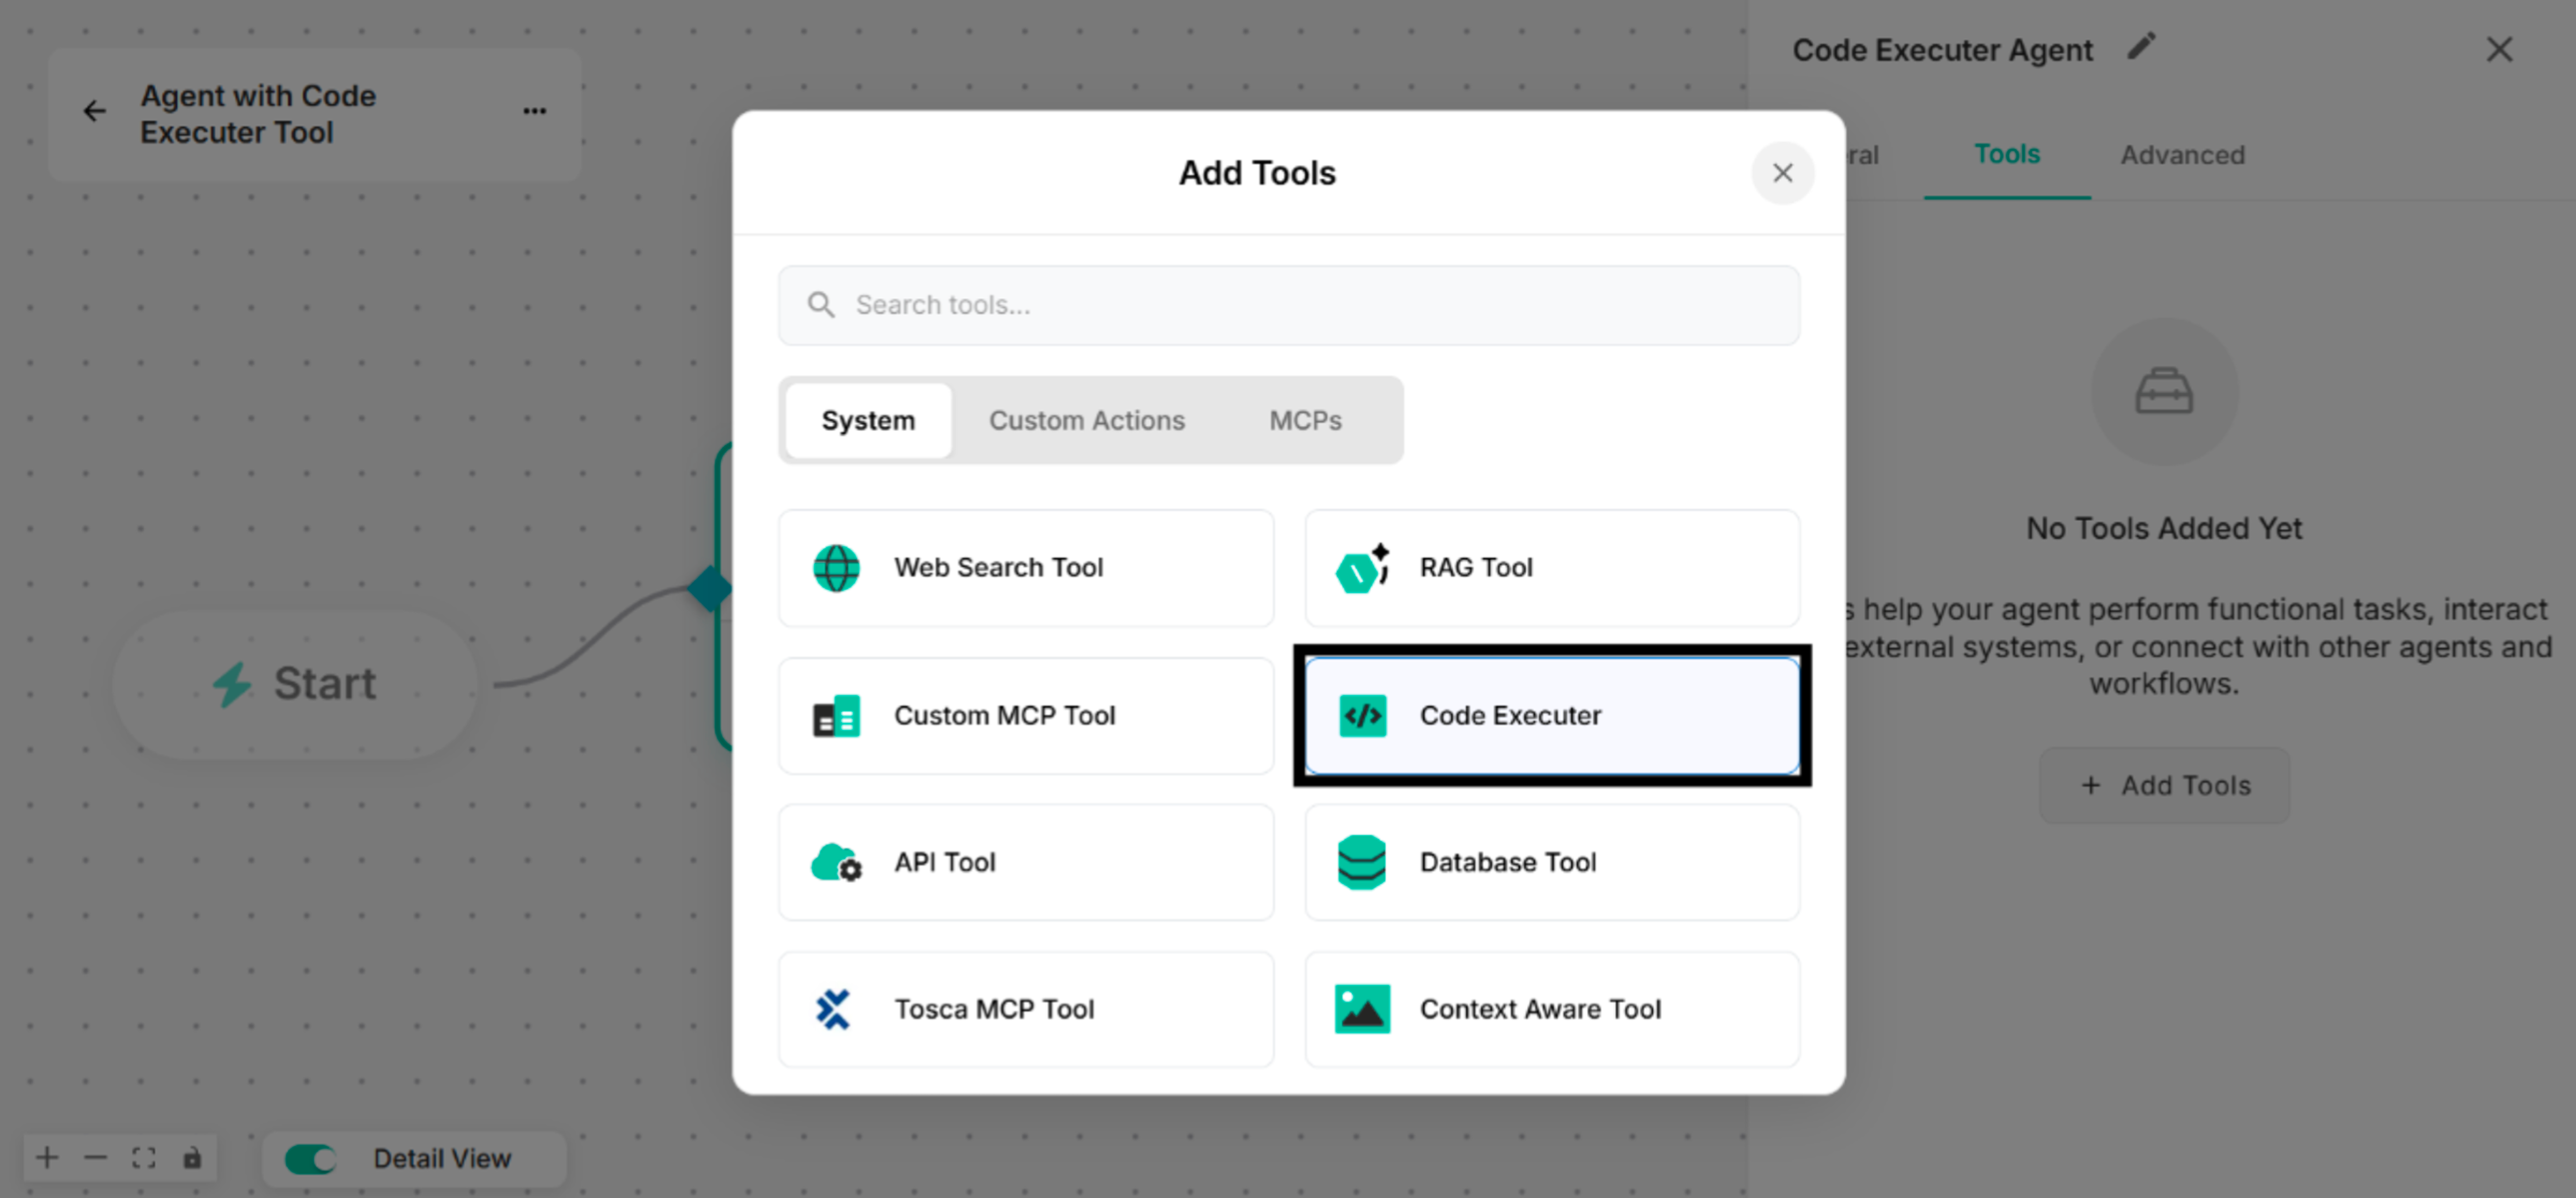 Figure: Showing to select Code Executer Tool in Add Tools List
Step 3: By clicking the Manage button, rename the tool name for the Untitled Tool.
Select one type of code language that can be used in the Code Executer Tool.
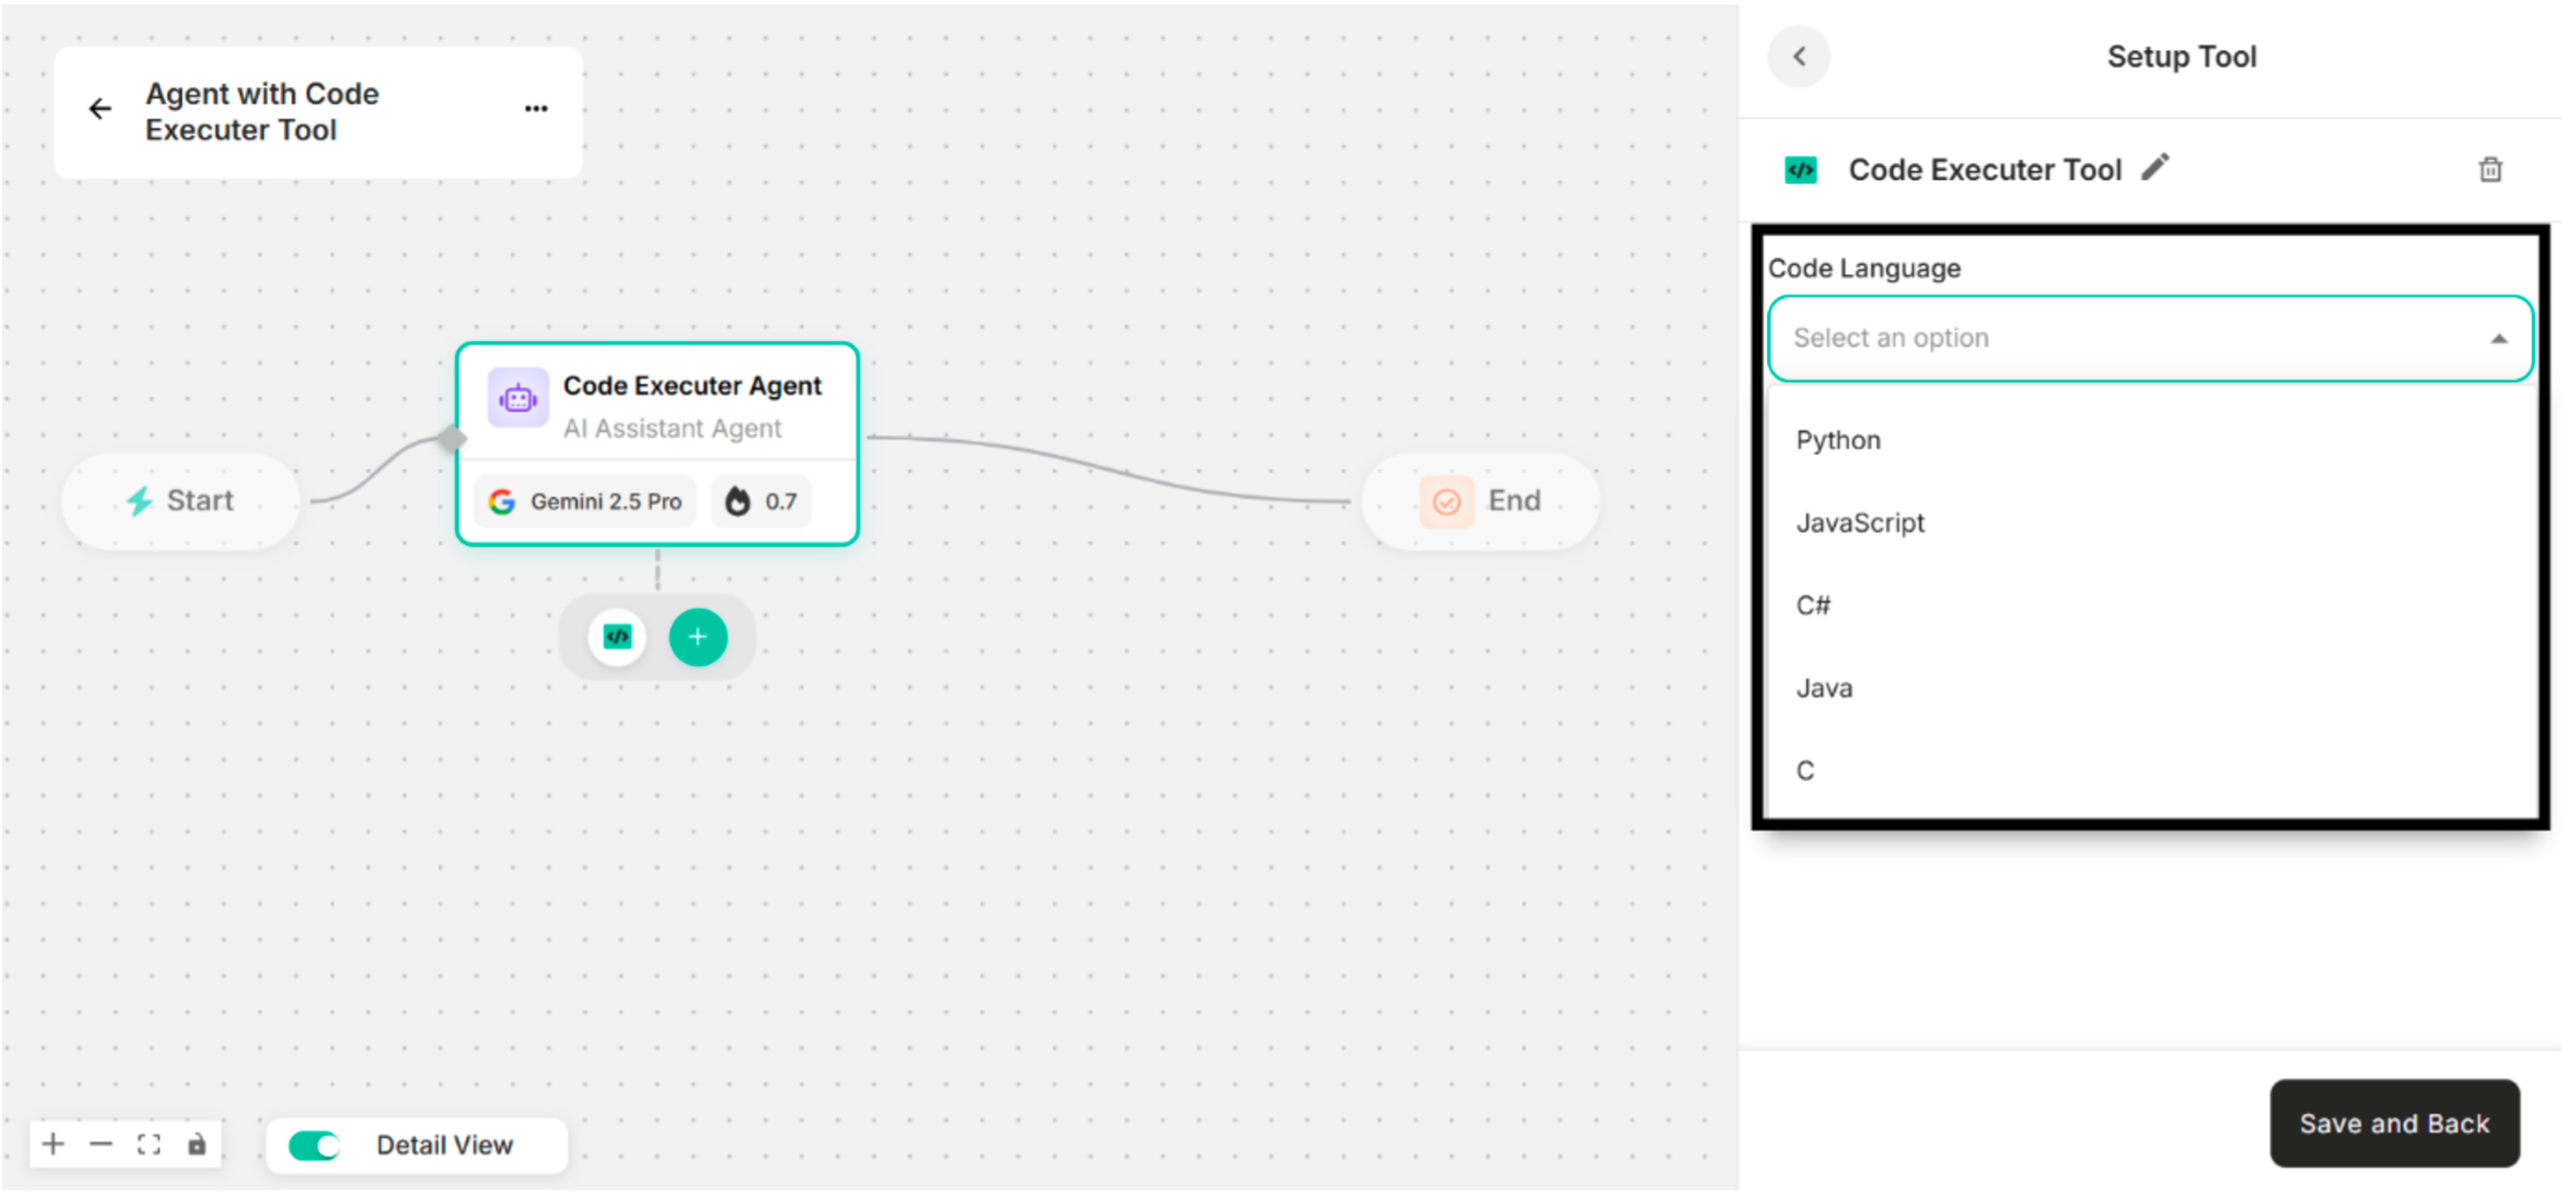 Figure: Showing Available Code Languages in Setup Tool Interface
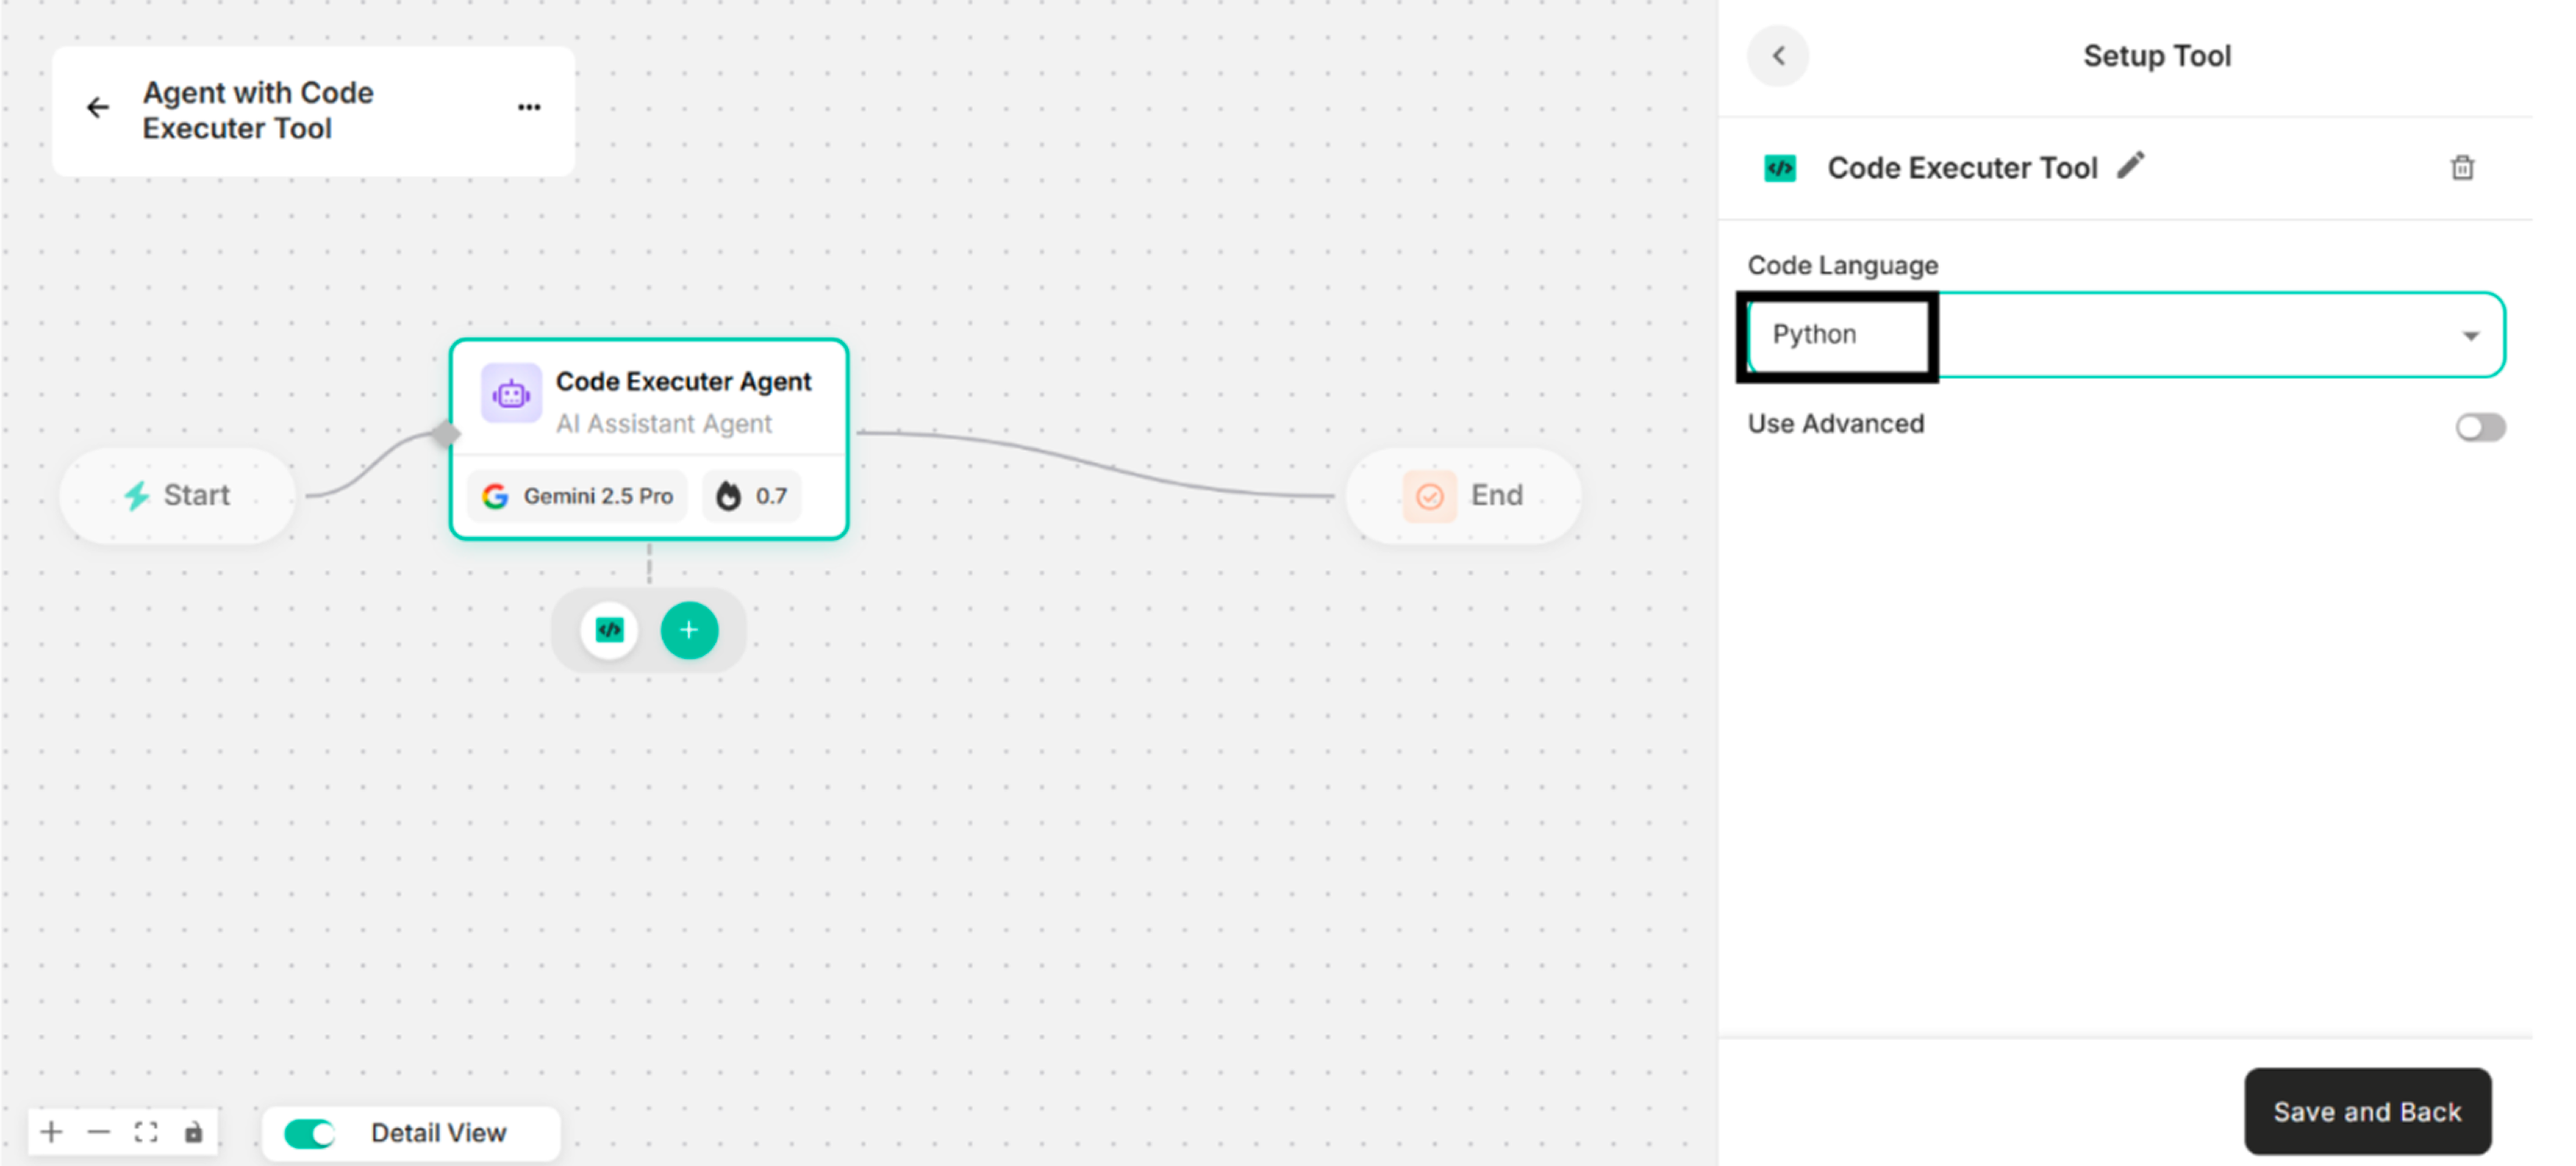 Figure: Selecting Python for Code Language
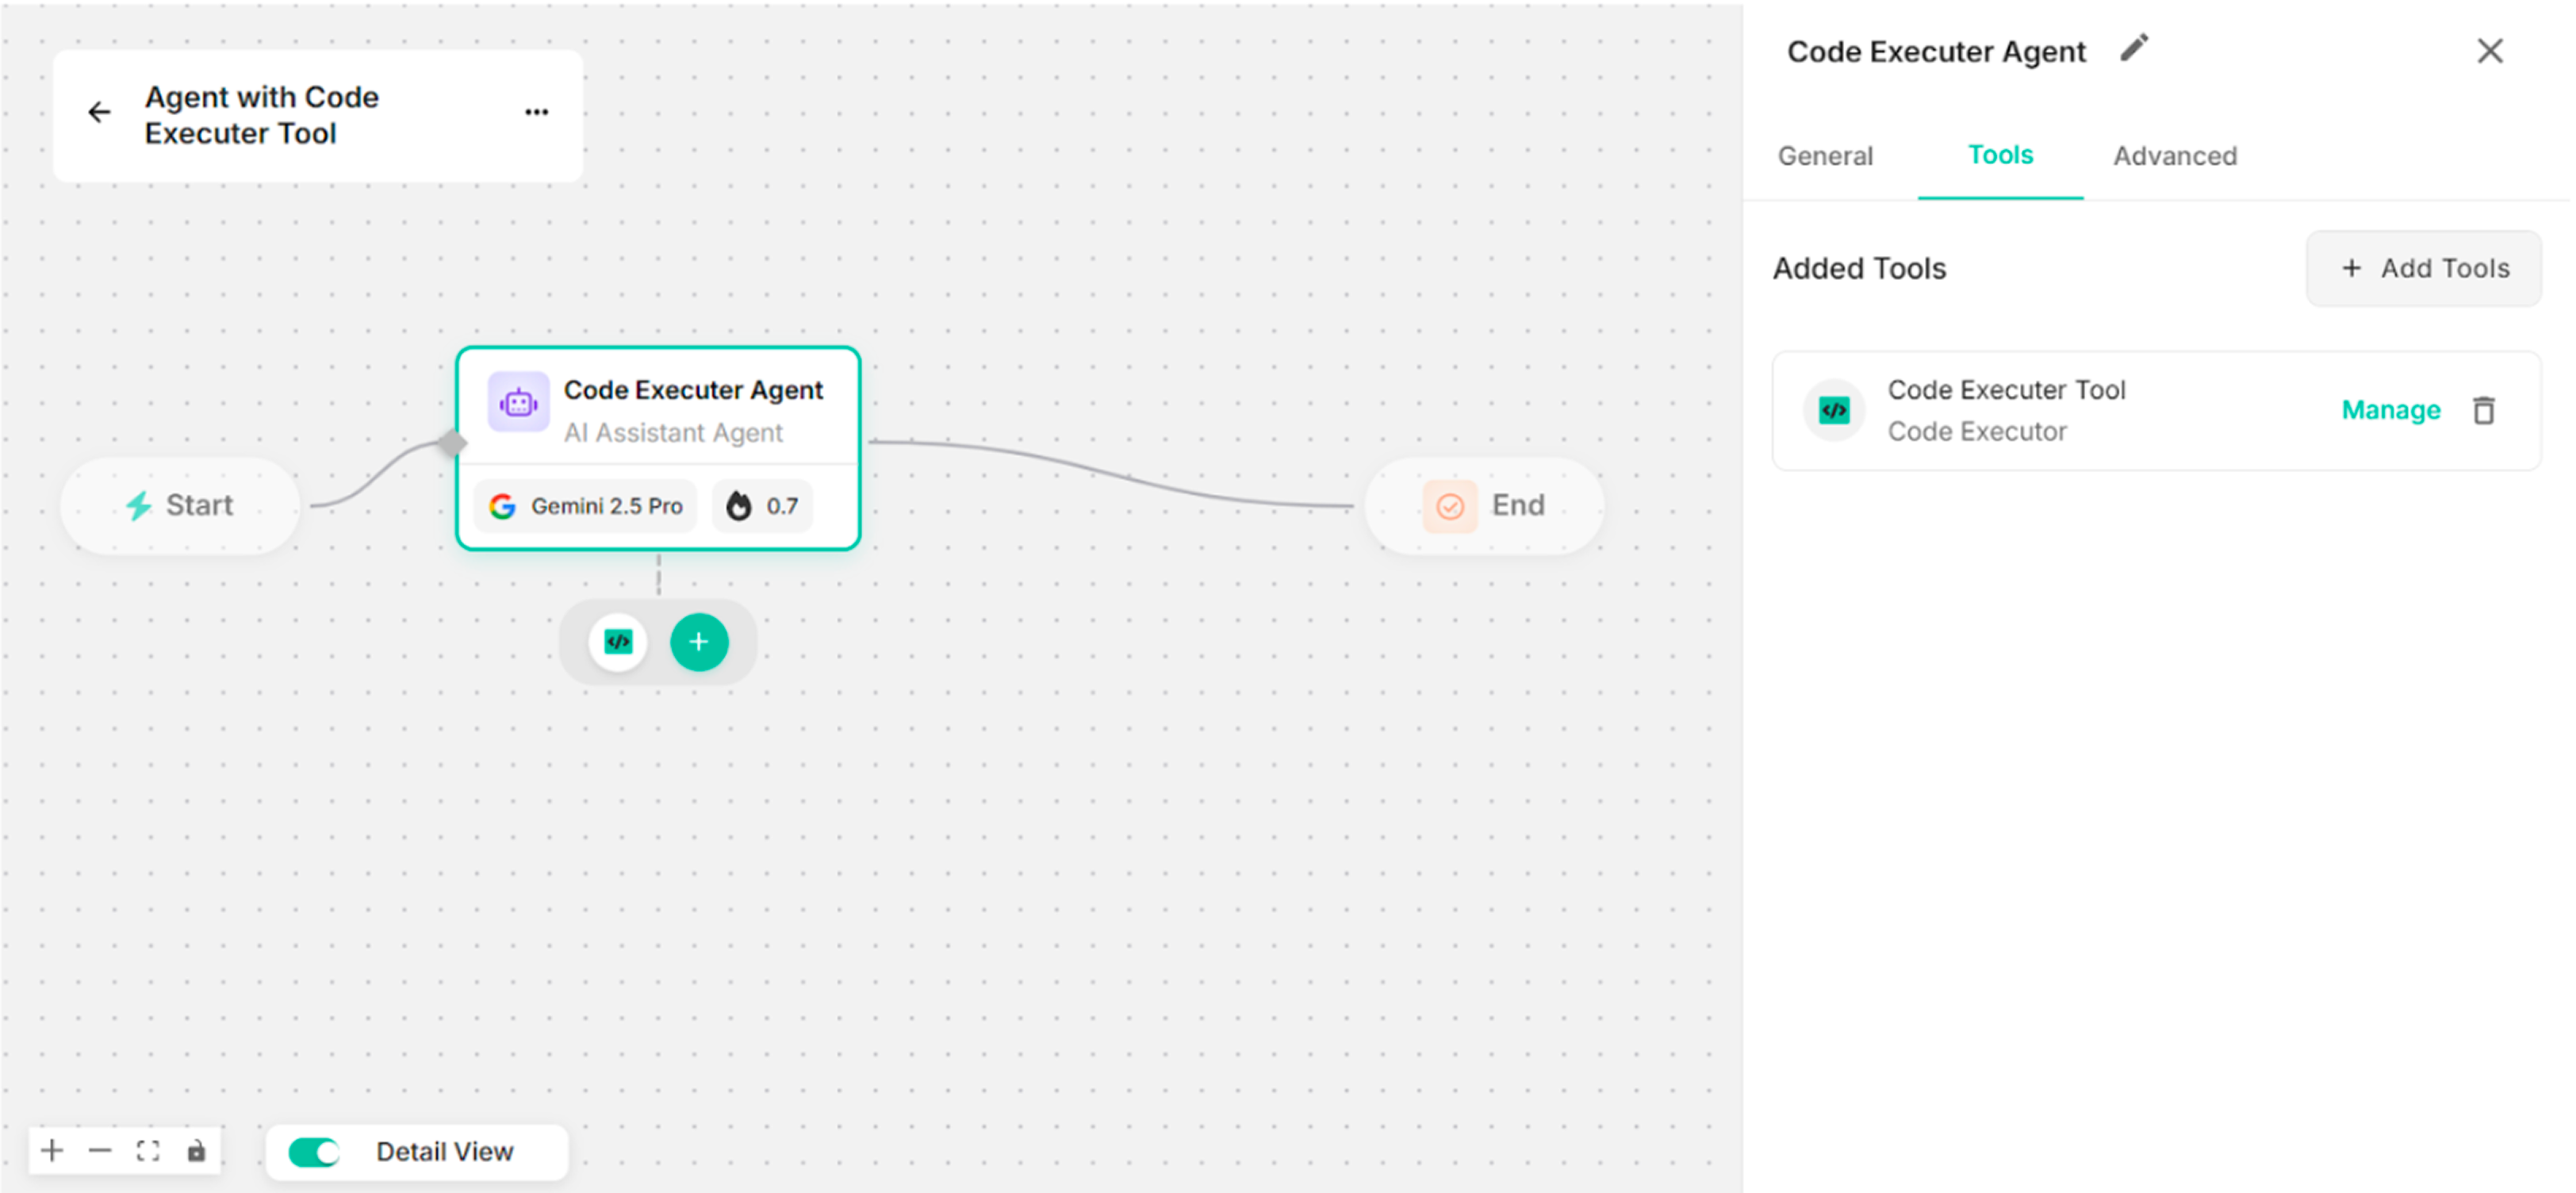 Figure: Showing the Canvas with the Created Code Executer Tool
Step 4: Enter instruction in the Instruction box to use the created Code Executer tool.
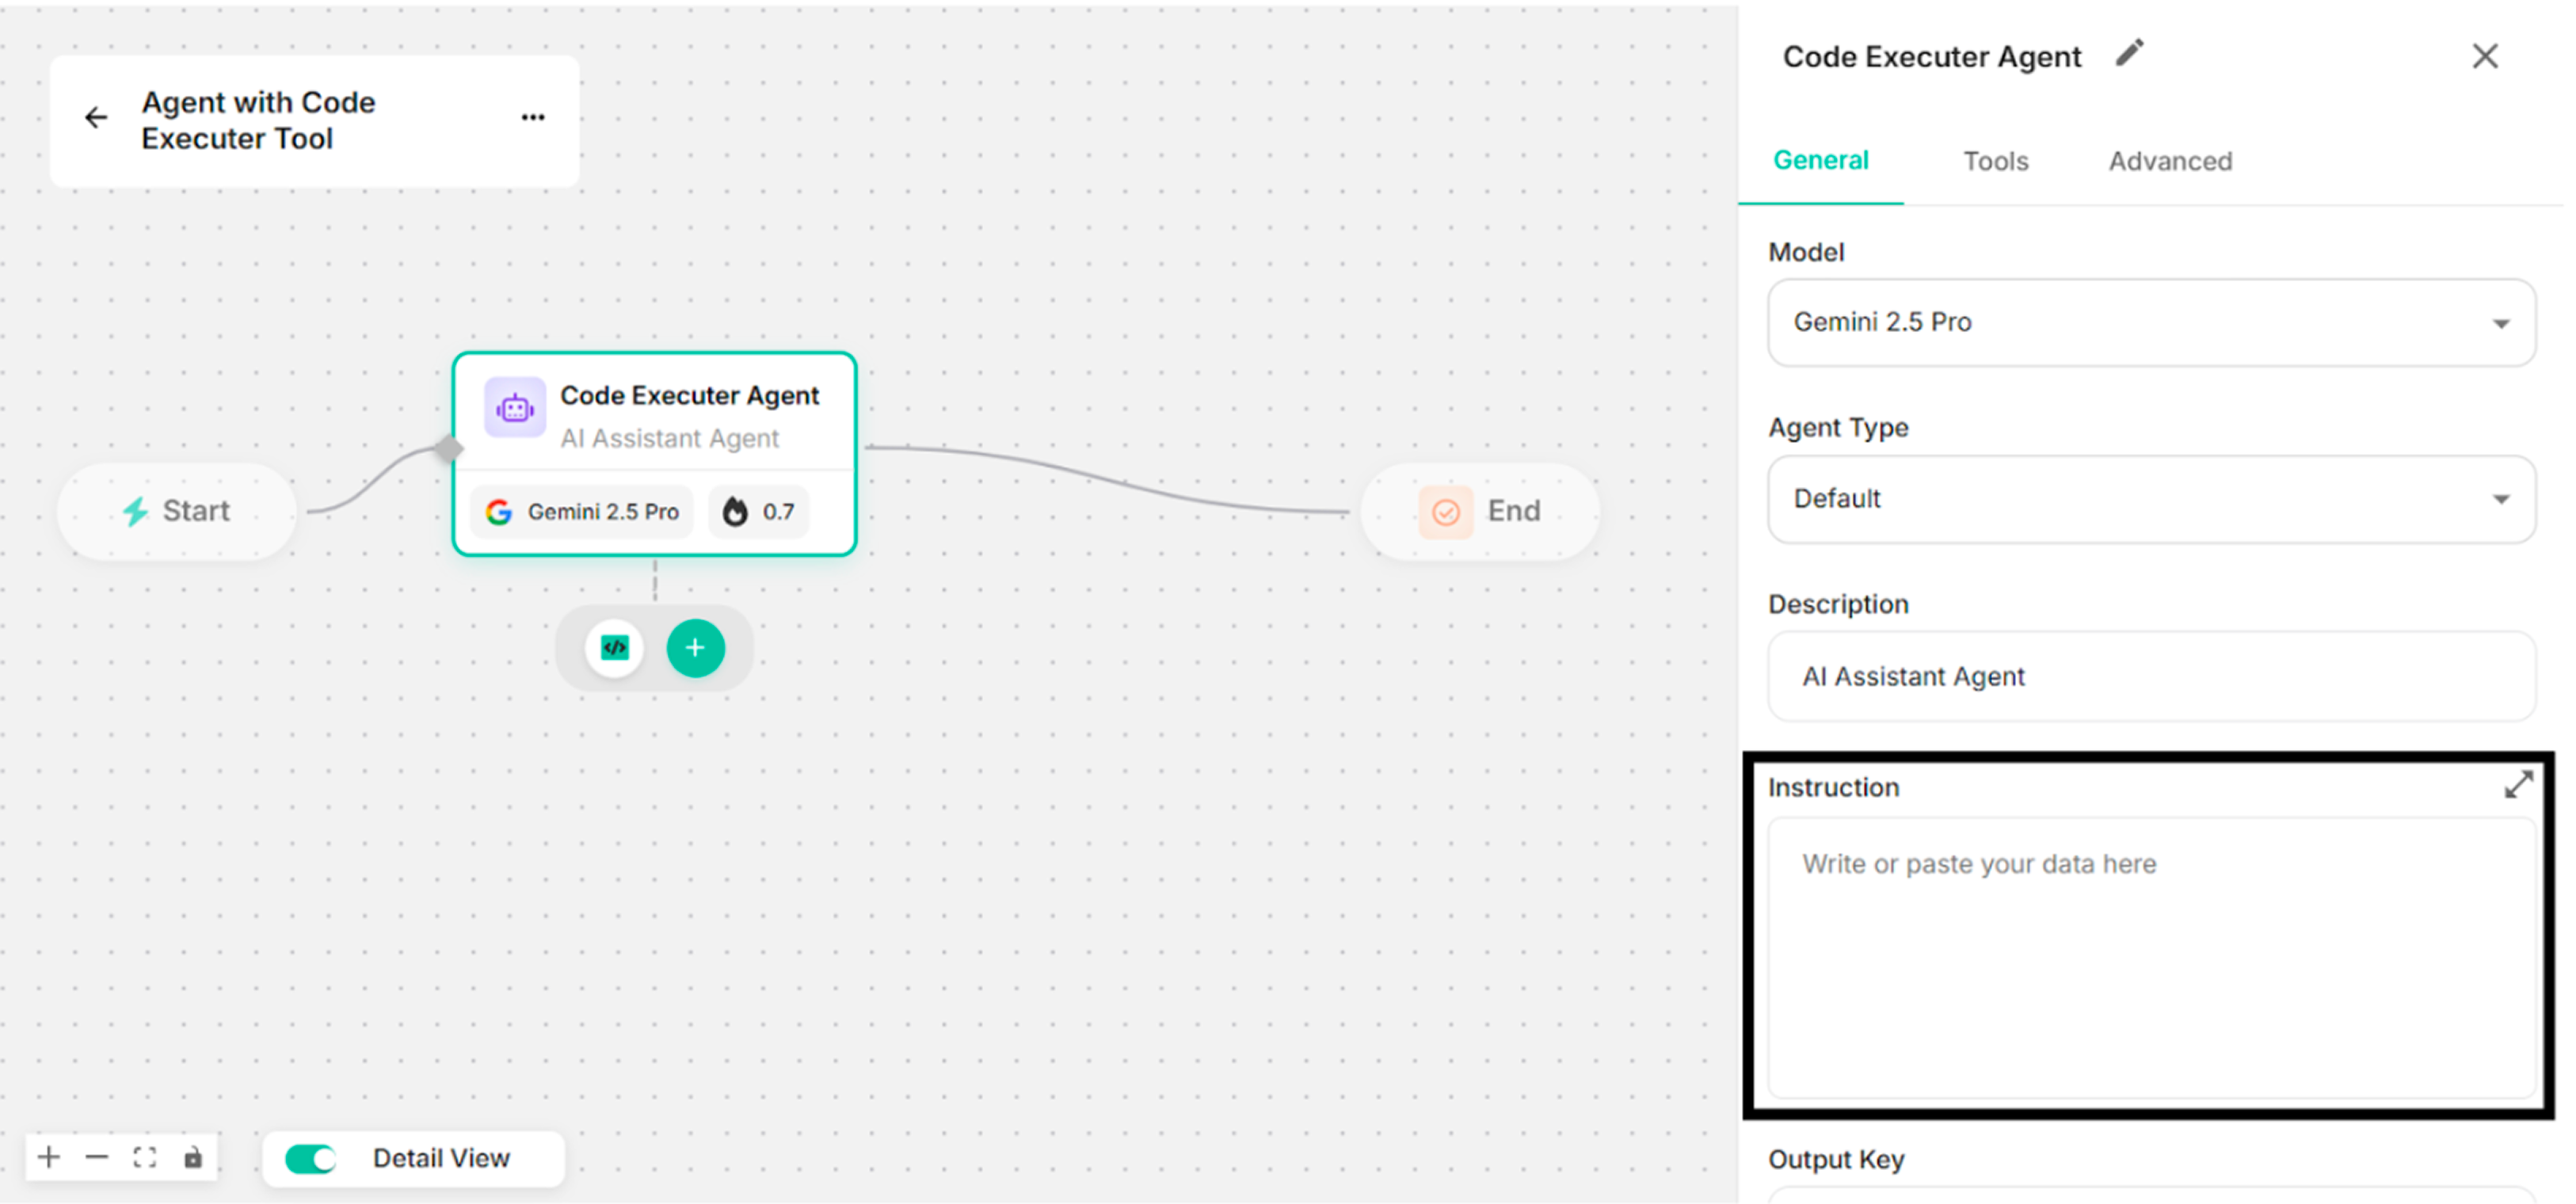 Figure: Showing to add Instruction in the Instruction Box
Step 5: Click Save button with the created Code Executer tool.
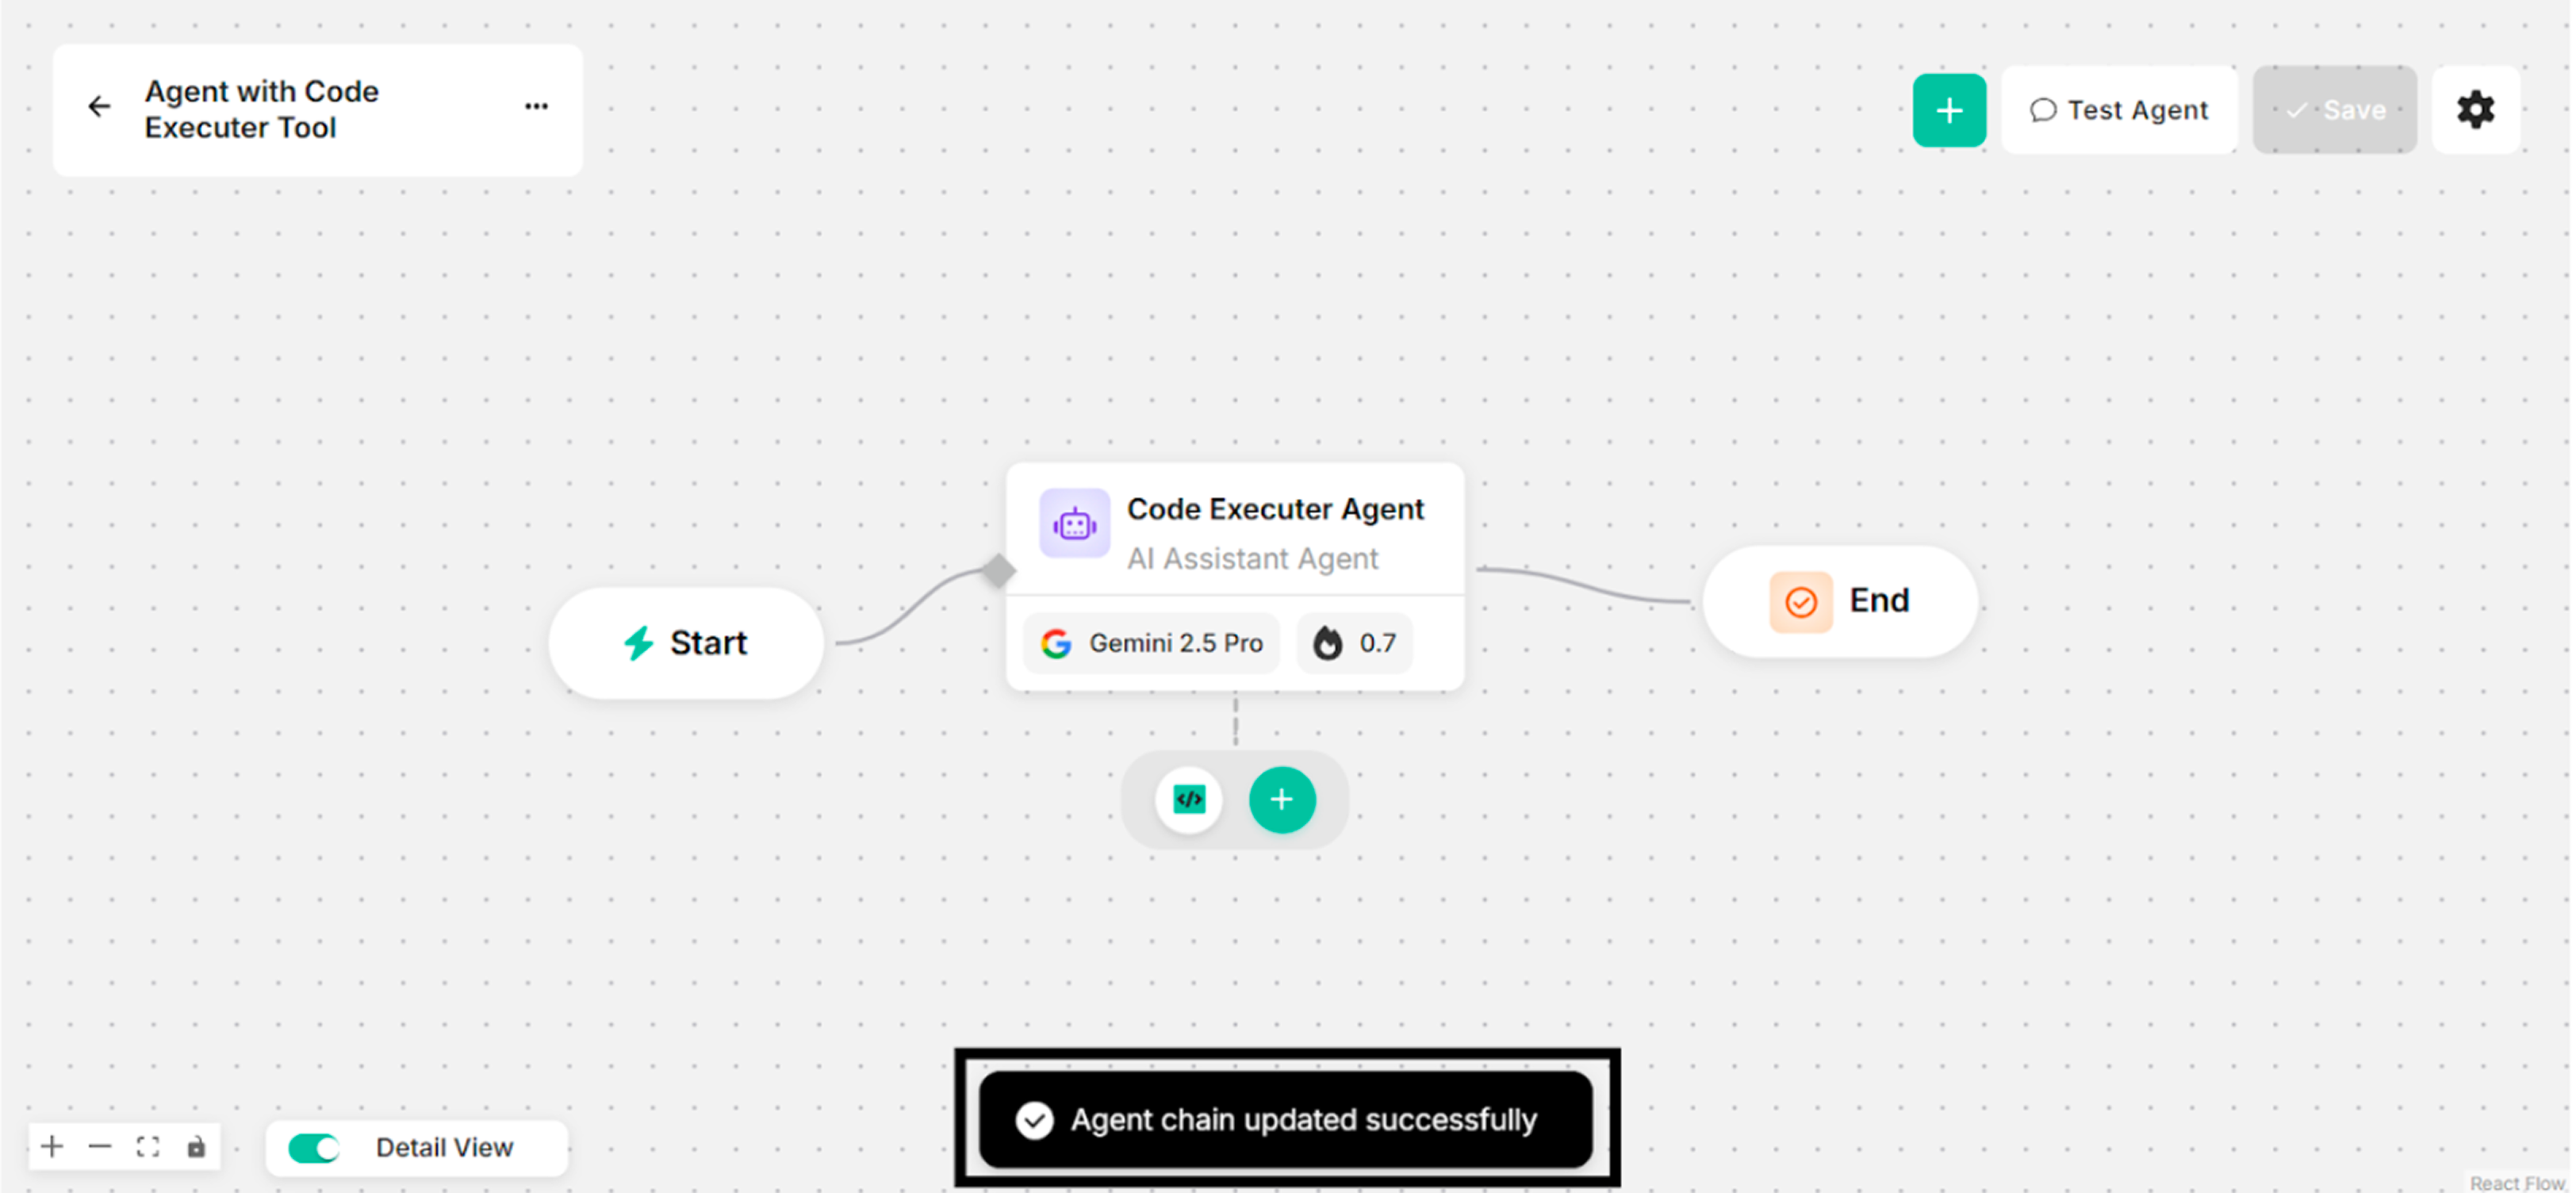 Figure: Showing Success Message with Code Executer Tool for Clicking Save Button
Step 6: Ask some questions with the successfully created Code Executer tool.
-b99bb9a366ed2508ebf01f2430ad3c8f.png) Figure: Showing Some Questions and Answers for Calculation and Downloadable Files in Canvas (with Code Executer Tool)
Figure: Showing Some Questions and Answers for Calculation and Downloadable Files in Canvas (with Code Executer Tool)